Content
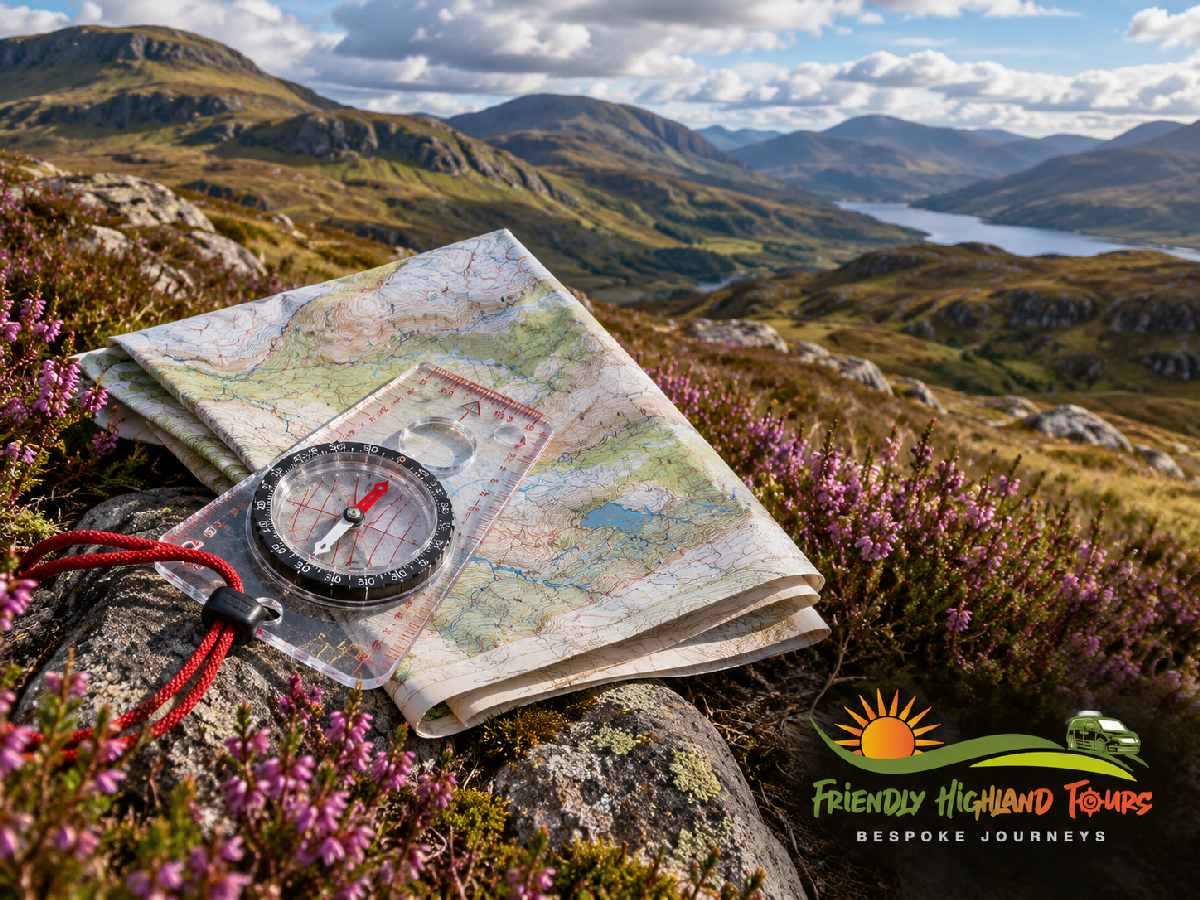
Highland routes take longer than they look on a map. Map scale measures horizontal distance, not effort. Steep ground adds height that the flat map view hides. Contour lines are the main clue to difficulty. The closer they sit, the steeper the slope. Check the scale and scan the contours along the whole route. Treat any time estimate as a minimum. Leave a buffer for rough ground, bogs, burns and weather.
Why a Highland Route Looks Shorter on Paper
You trace a route on the map and measure it against the scale bar. It comes out at a modest distance. Then you walk it. The day runs well past what you planned for. The map was not lying to you. It simply was not built to answer the question you were asking.
Map distance and walking time are two different things. In highland country they can differ sharply. A route across level farmland and a route over a steep-sided ridge can measure the same on paper. The sheet measures ground covered, not effort spent. That is why Highland routes take longer than they look on a map. The reason lies in how maps are made. They use a fixed scale. Their symbols record what is there, not how hard it is. Contour lines carry almost all the information about what the ground will do to your legs.
My name is Aleman. I have lived in the Highlands for over 30 years and guide small groups from my home in Inverness. This guide explains the gap between the map and the ground. It also shares practical ways to read a highland map more realistically before you set off.
This is not a timing calculator. You will not find a formula here that turns a measured distance into a guaranteed number of hours. Be wary of anyone who offers one without caveats.
Key Facts About Highlands Route Planning
These are the main points I cover in this guide. The sections below explain each one.
- Scale: It measures horizontal distance, not effort.
- Symbols: They show what is there and where. They do not show how hard it is.
- Contours: Close lines mean steep ground. This is the map’s main clue to difficulty.
- Time estimates: Treat them as a minimum and add margin.
- Unmapped factors: Rough ground, bogs, burns and weather all need a buffer.
What a Map Actually Shows
A map is a deliberate selection. It cannot show everything on the ground. It shows chosen features using symbols instead of words. Ordnance Survey’s map reading guidance notes that symbols are used so the sheet is not covered in writing. A footbridge, a cairn, a patch of forestry and a field boundary each get a mark. Those marks stay consistent across the sheet.
Symbols are a compressed shorthand. They need translating. That is the job of the key or legend. This panel tells you what each symbol represents. I recommend reading it properly before you set off. This matters most on a highland sheet. You may meet symbols there that you rarely see closer to home.
The title does similar work at a higher level. It tells you the subject and the area the sheet covers. You know what you are holding and what it is likely to contain. No title ever tells you how hard any of it is to cross.
That is the point to hold on to. The symbols on a map answer what is there and where it sits. They do not answer how hard. A path symbol and a trackless hillside both appear as ink on paper. Neither mark carries a difficulty rating. A river crossing is drawn the same way, ankle-deep over gravel or something you would think twice about. The map records existence and position with real precision. On effort, it stays silent.
Scale: Same Distance, Different Ground
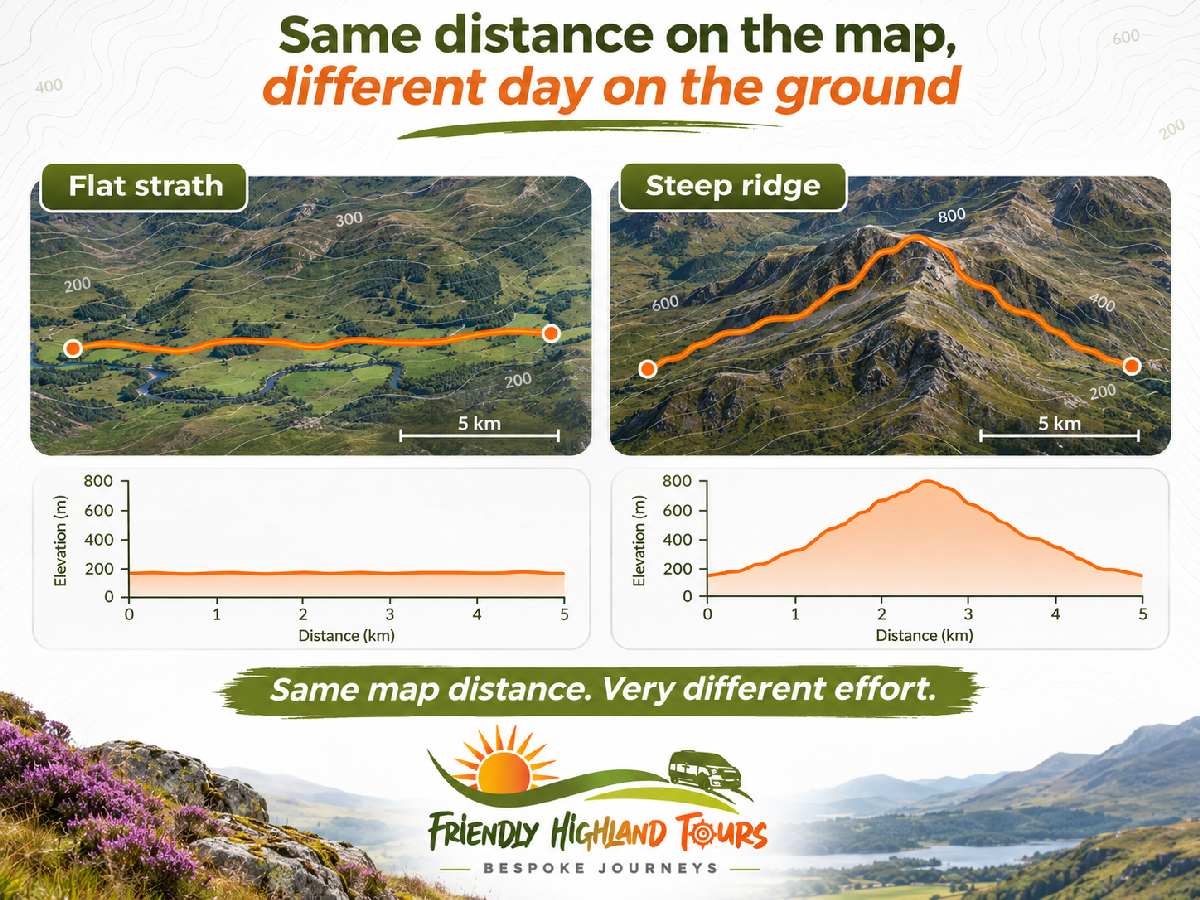
Scale is the ratio between distance on paper and distance on the ground. It is the reduction that lets a whole landscape fit on a sheet you can fold into a pocket. Ordnance Survey’s guidance explains it in exactly those terms. Scale is the relationship between the paper and the land it represents.
Here is the part that matters for highland walking. That ratio is fixed. It stays the same across the entire sheet. It does not change with the terrain. A given length on the map converts to the same ground distance on a flat strath or up a 300-metre wall of heather and broken rock. Scale measures horizontal distance. Horizontal distance is a poor guide to effort.
This is the first half of the mismatch. You measure a highland route against the scale bar and decide it “looks short”. That measurement is real and accurate. It just does not measure what decides the length of your day. Two routes of identical length can mean entirely different days out. The scale bar cannot tell you which is which.
My tip: Check the stated scale before you form any view of a route’s length. Sheets at different scales look very different to the eye. A route that sprawls across one map may fill a small corner of another. Judging distance by how a line looks on paper is an easy way to start the day with the wrong number in your head.
Contour Lines: The Map’s Clue to Difficulty
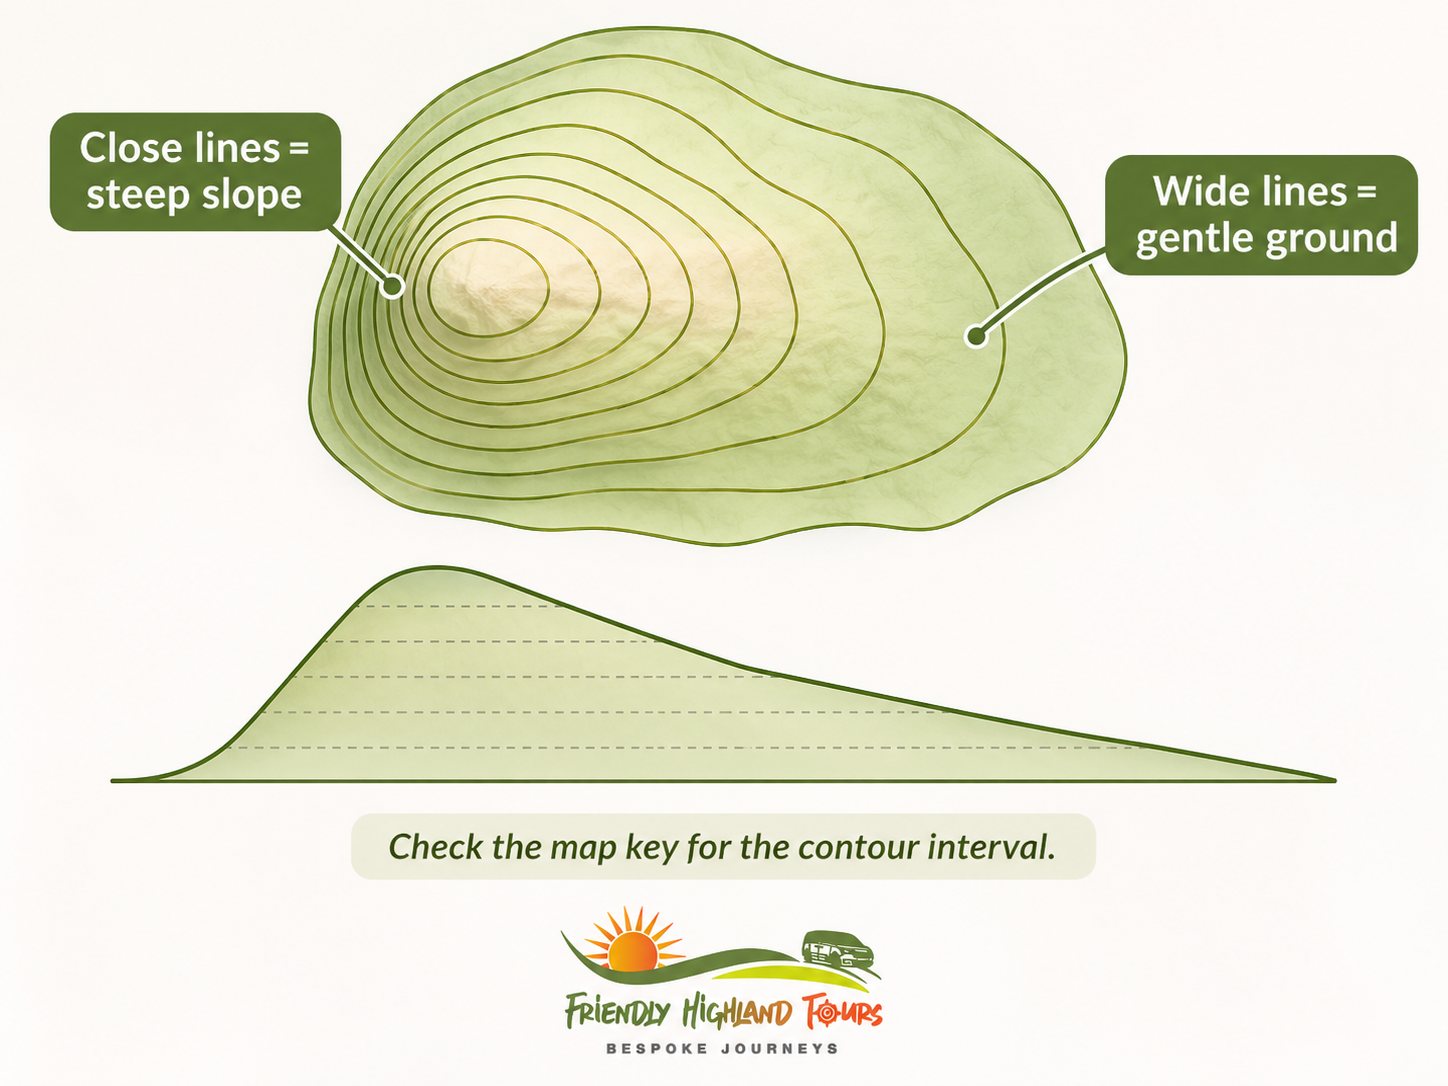
Everything the map knows about the shape of the ground sits in the contours. These lines join points of equal height. Together they show the three-dimensional form of the terrain on a flat sheet. Ordnance Survey’s beginner’s guide to contour lines explains that hills, slopes and mountains are shown by these lines. Studying them lets you work out gradients, pick out valleys and judge how steep a climb will be.
The rule that does most of the work is spacing. The closer the contour lines are together, the steeper the slope. Tightly packed lines along part of your route mean the ground rises or falls fast over a short horizontal distance. Widely spaced lines mean gentler, flatter going. This one relationship is the main thing a standard map can tell you about difficulty. It also does the most to explain the time gap.
It bites hardest in the Highlands for a simple reason. On gentle ground, horizontal distance and effort roughly match. In mountainous terrain they come apart. A steep route gains height that the flat map view hides. The map shows only the horizontal part of your journey. In steep country that is only part of what you will actually travel. Ordnance Survey’s map reading guidance makes the point that trekking in mountainous areas calls for maps showing heights and steepness. That is why contour maps matter so much for Highlands route planning. A stroll along a towpath is a very different story.
Know the contour interval before you read the spacing. Ordnance Survey notes that the interval on 1:25 000 maps is usually 5 metres. In mountainous regions it may be 10 metres. The same density of lines can therefore mean different amounts of height change on different sheets. Check the interval. Do not rely on how crowded the lines look by eye.
My tip: Before you judge a highland route by its length, run your eye along the whole line. Read the contour spacing section by section. Where do the lines bunch? How long does each steep section last? Does the route curve gently around a shoulder or drive straight up the fall line? Two routes of the same measured distance can look completely different under this kind of scan. That difference accounts for most of the difference in your day.
One honest limit applies. Contour spacing tells you about gradient. It tells you nothing about the surface underfoot. It cannot predict your journey time on its own. It narrows the uncertainty a great deal. It does not remove it.
Estimating Walking Time: Use Guidance With Care
People have tried to turn map measurements into hours for a long time. Established methods do exist. Ordnance Survey’s map reading guidance covers measuring distance on the ground. It also refers to Naismith’s rule as a way to estimate walking time, alongside its sections on reading contours.
I do not give a numeric version of that rule here. This is a deliberate choice. A figure quoted without its conditions and adjustments carries more confidence than it deserves. To work with a specific rule, go to the published guidance itself. Do not rely on a half-remembered figure from a web page.
However you reach an estimate, treat it as a planning aid. It is not a prediction. A rule of thumb based on distance and ascent works from the two things a map can supply. It says nothing about how you will feel four hours in. It ignores the ground underfoot and the weight you carry. It cannot count the time lost to navigation when visibility drops. All of these cost time. None of them appear in the arithmetic.
My tip: Treat any time taken from the map as a minimum, not a fixed figure. Build extra margin on top before you commit to a plan. Decide in advance what you will do when you fall behind. That is more useful than refining the estimate itself.
Skill sits under all of this. Mountaineering Scotland describes map and compass use as an essential skill for the mountains. It places route planning within that wider navigation practice. Reading a map well and planning a route realistically are learned skills. They grow through instruction and practice, not through a better formula.
What the Map Cannot Fully Show
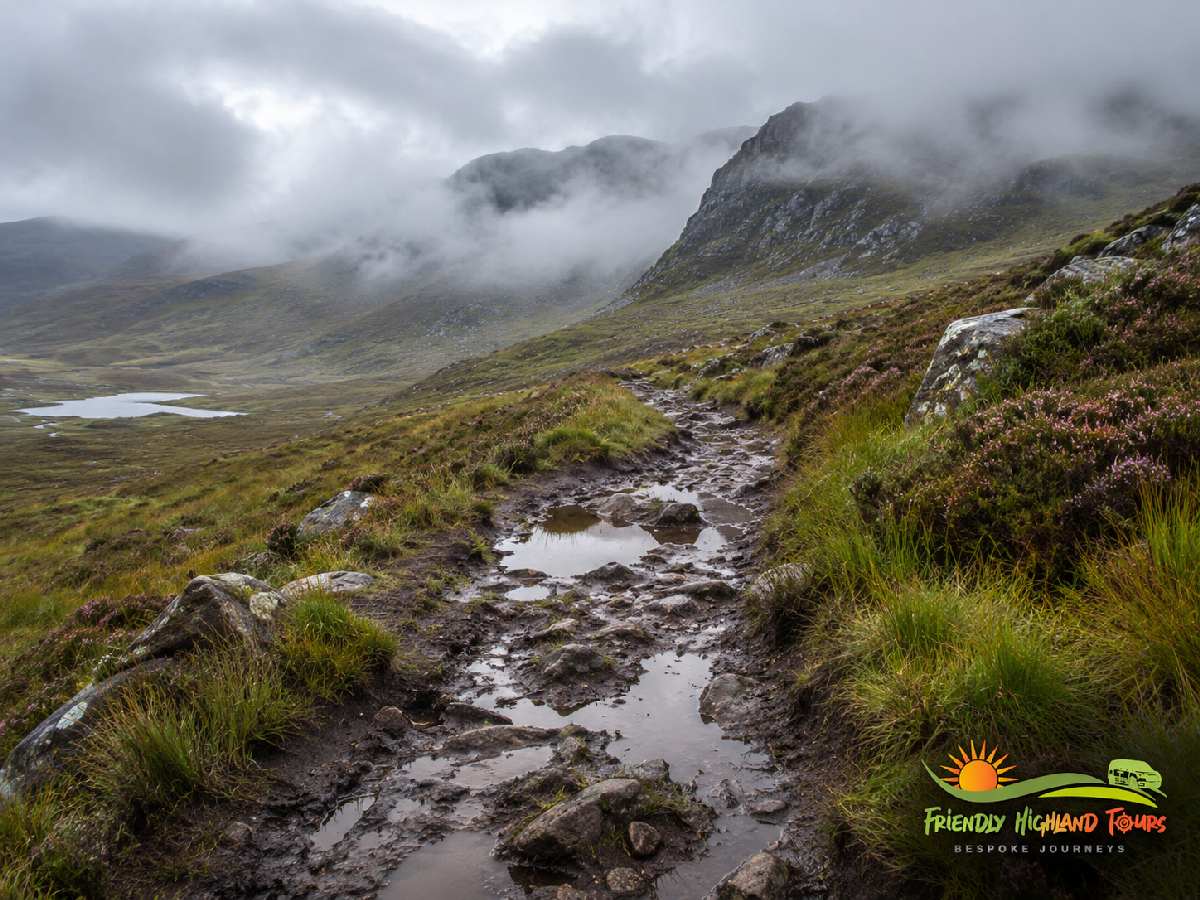
Steepness is the biggest thing the map can tell you about. It is not the only thing that slows a highland day.
Walkers commonly mention a familiar set of factors:
- Rough or pathless ground: Every step has to be placed.
- Boggy, saturated ground: It drags at your pace.
- River and burn crossings: These may need a detour or a wait.
- Remoteness: It lengthens both the approach and any retreat.
- Weather: It can change the character of a route entirely.
These are general points widely linked to highland walking. Most people who walk in this country will recognise them.
I want to be clear about what this guide can and cannot say about them. None of these factors is measured by the evidence behind this piece. There is no supported figure here for the time boggy ground adds. The same goes for river crossings and for a drop in visibility. Treat them as things to expect and to build a buffer for. They are not measured effects with known values.
They do explain why map-reading skill and judgement matter so much in mountain country. A sheet can show you a stream, a bog symbol, a path and a summit. It cannot show you the stream in spate or the bog after a wet fortnight. Nor can it show the path reduced to a line of cairns in the cloud. This is where Mountaineering Scotland’s view of navigation as an essential mountain skill earns its place. The person holding the map has to close the gap between what it shows and what they meet on the day.
I suggest treating unmapped factors as a buffer. Ask what the ground has been doing recently. Check what the forecast means for visibility and conditions underfoot. Make sure your plan has some give in it. Then assume the map has told you about the shape of the ground and little else.
Four Habits Before You Set Off
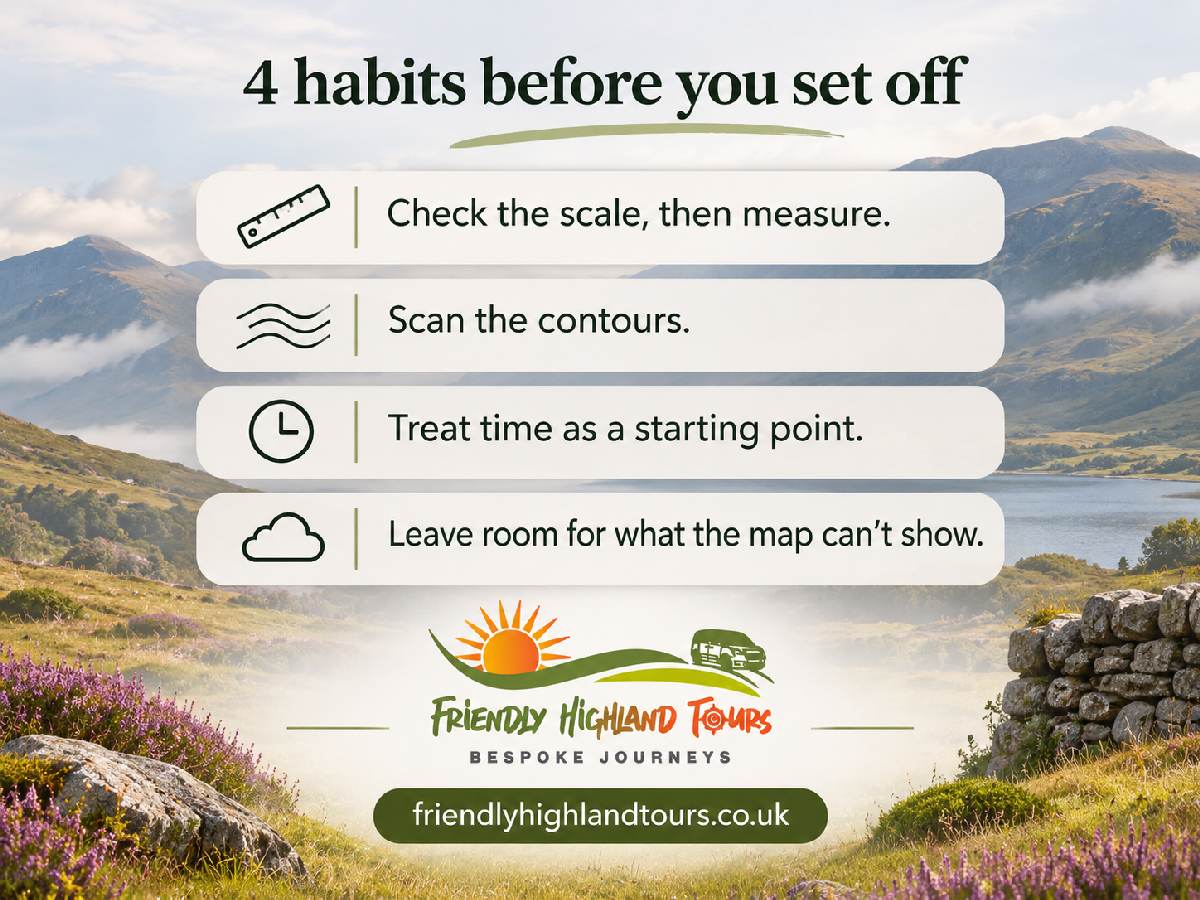
I recommend these four habits. They turn everything above into something you can use.
Check the scale, then measure. Find the stated scale before you form any view of how far the route goes. Measure against it. Do not judge by how long the line looks on the sheet. The result is an accurate horizontal distance. It is a real and useful number. Just remember that it describes ground covered, not effort required.
Scan the contours along the whole route. Note the contour interval for that sheet. Then follow your planned line and look for where the lines bunch. Pick out the steep sections, roughly how much height each one involves and how they spread through the day. One long steep climb makes a different day from a route that goes up and down repeatedly. This holds even at the same total distance.
Treat any time estimate as a starting point. Hold every estimate loosely, whatever method produced it. It comes from the two things a map can measure. It knows nothing of conditions, fitness, load or navigation difficulty. Build margin on top. Decide your turnaround points in advance.
Leave room for what the map cannot show. Ground conditions, water levels, weather and visibility all sit outside the map’s vocabulary. Count them as buffer. Do not assume the sheet has told you the full story.
Frequently Asked Questions
Key or Legend: Does It Matter?
On UK maps the two words are generally used interchangeably. Both refer to the panel that explains the symbols on the sheet. Ordnance Survey’s own map reading guidance uses them in this shared sense. The job is the same whichever word your map uses, and so is the advice. Read it, especially for symbols you rarely see. The choice of word makes no difference to how you read the map or plan a route.
Which Mistakes Make People Misjudge Route Time?
Three come up again and again.
- Judging distance by eye. People skip the stated scale. This can go badly wrong when you switch between sheets at different scales.
- Reading the route as a line, not as terrain. People measure the length but never scan the contour spacing. A steep section then never shows up in the plan.
- Treating a time estimate as fixed. It is an approximation built from distance and ascent alone. It makes no allowance for conditions, load or the ground underfoot.
Is There a Simple Formula for Walking Time?
Established methods exist. Ordnance Survey’s map reading guidance refers to Naismith’s rule in its route-planning material. I will not give a numeric version here. A figure quoted without its assumptions misleads more than it helps. To use such a rule, take it straight from the published guidance. Whatever method you use, treat the result as a general planning aid. Add margin to it. It is not a precise prediction of your day.
My Advice for Reading a Highland Map
The map gives you the shape of the ground with real precision. Scale fixes the distance. Contour lines reveal the steepness. Together they explain most of the gap between how a highland route looks and how long it takes. The rest is down to the walker. That means the surface, the weather, the state of the burns and you.
You do not need a finished plan before contacting me. I plan custom private tours around realistic timings for your group. Take a look at my private tours from Inverness or call me on +44 7848 460 773. You can also get in touch to plan a Highland route together.
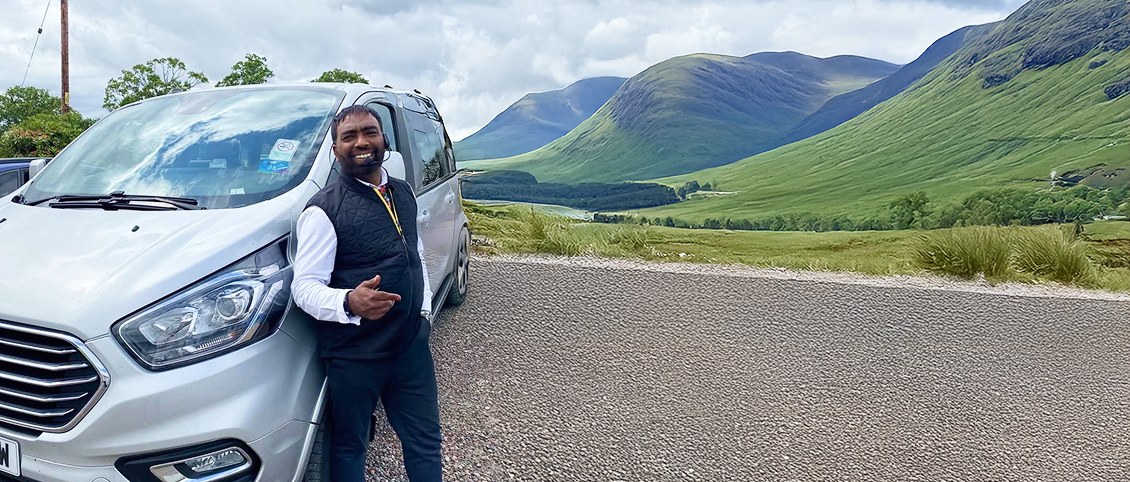
Aleman is a local guide who leads Friendly Highland Tours. He has lived in the Highlands for over thirty years. He knows the land through real journeys on quiet roads, lochs, and glens. Families and small groups travel with him for calm days and warm stories. Each guide he writes comes from experience on the road and careful consideration.